How to renovate a vintage caravan by @themaggieproject_
Okay, you guys are probably going to be as amazed by this renovation as I am.
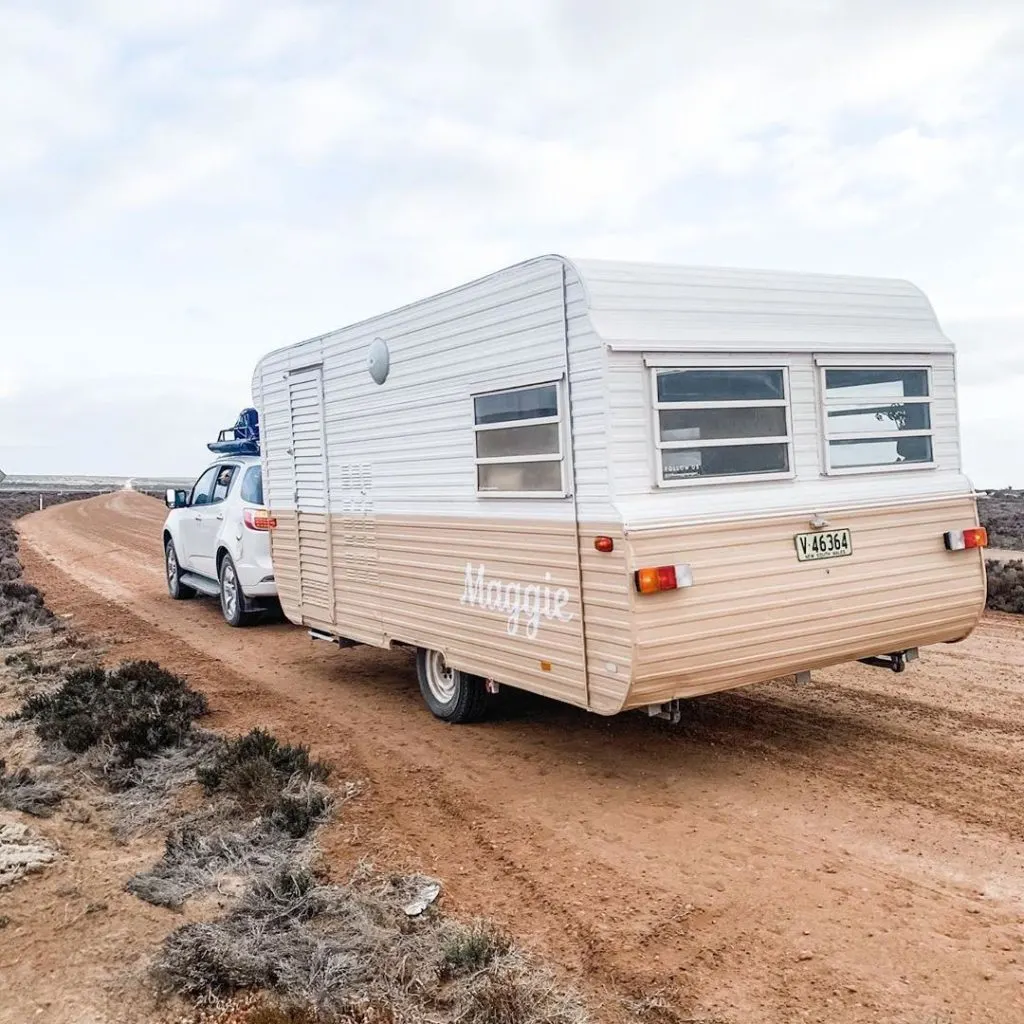
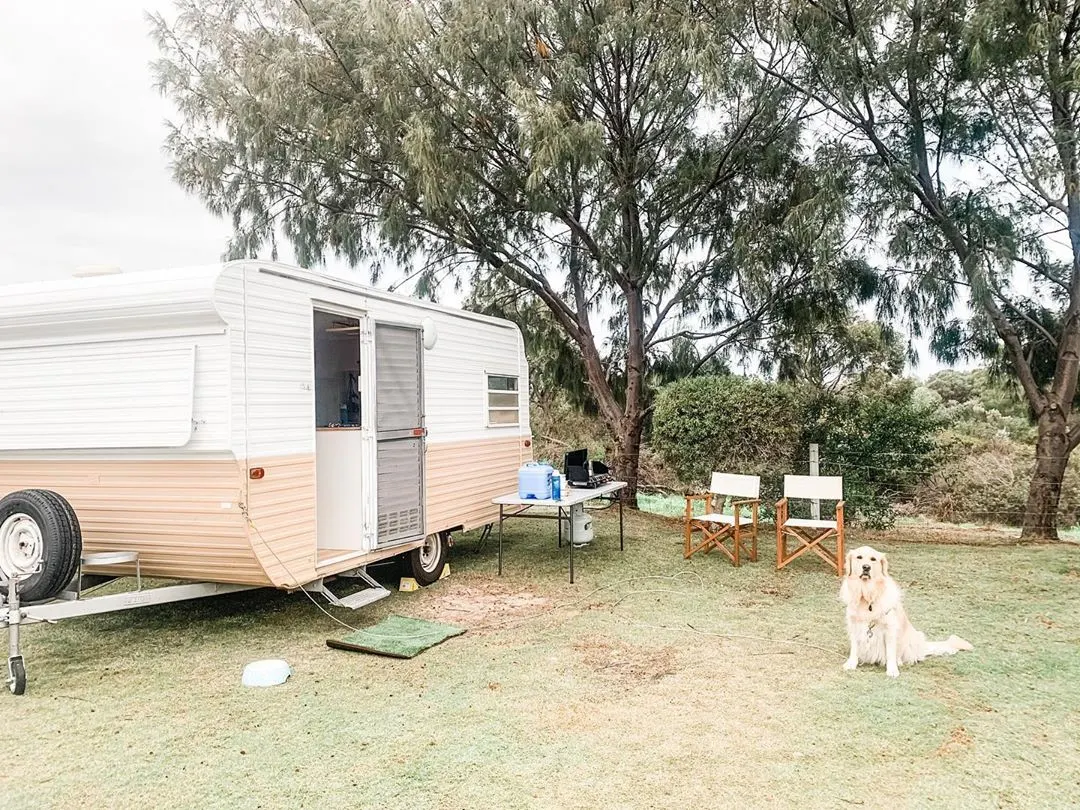
This is Maggie.
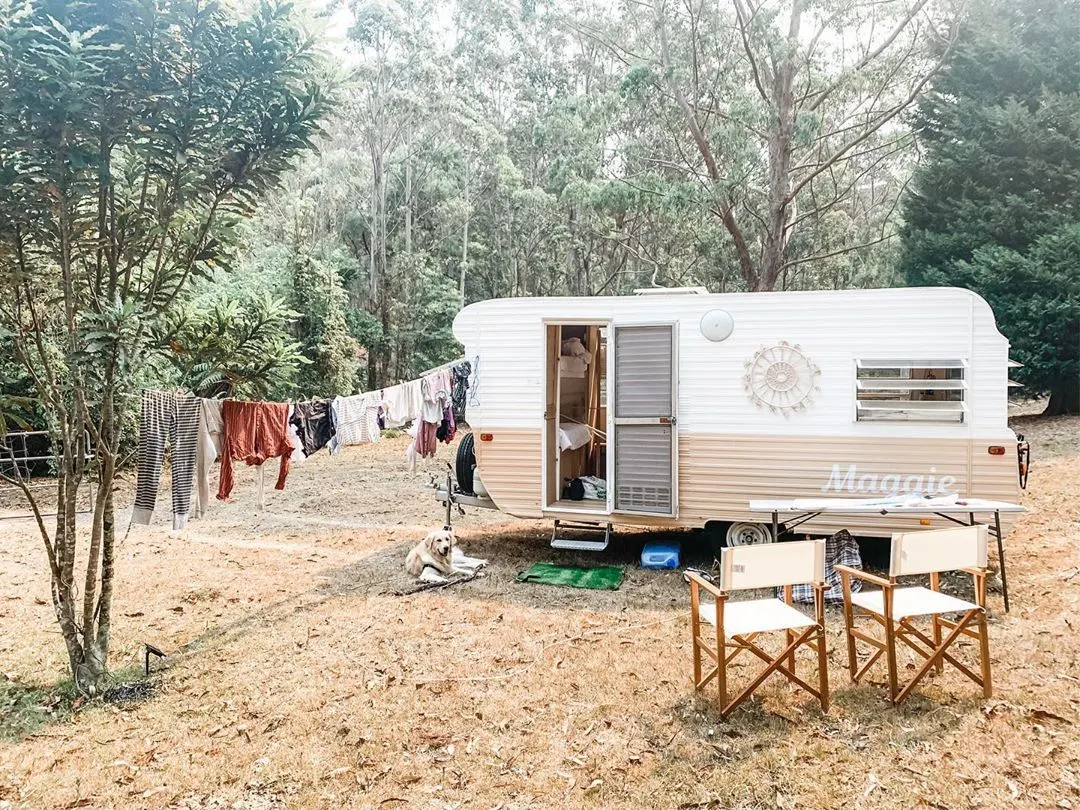
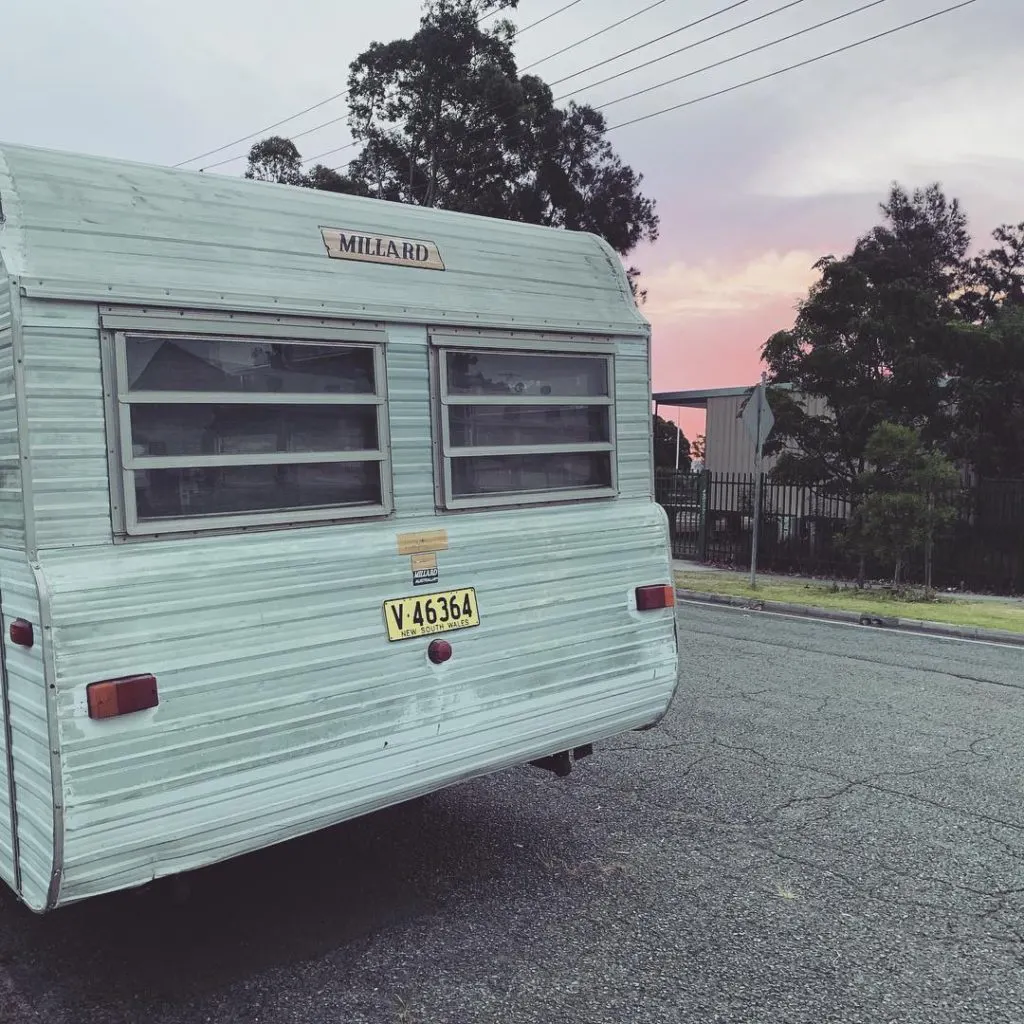
She’s a 1976 Millard Capri and has been beautifully renovated by Georgia and Amy from @themaggieproject_
What’s hard to comprehend about this reno, is that Georgia and Amy had never renovated anything before.
Anything!
And yet, they were able to create this beauty!?
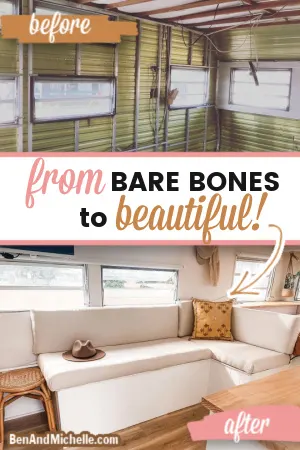
Maggie was gutted when she arrived, so it was a blank slate they had to work with.
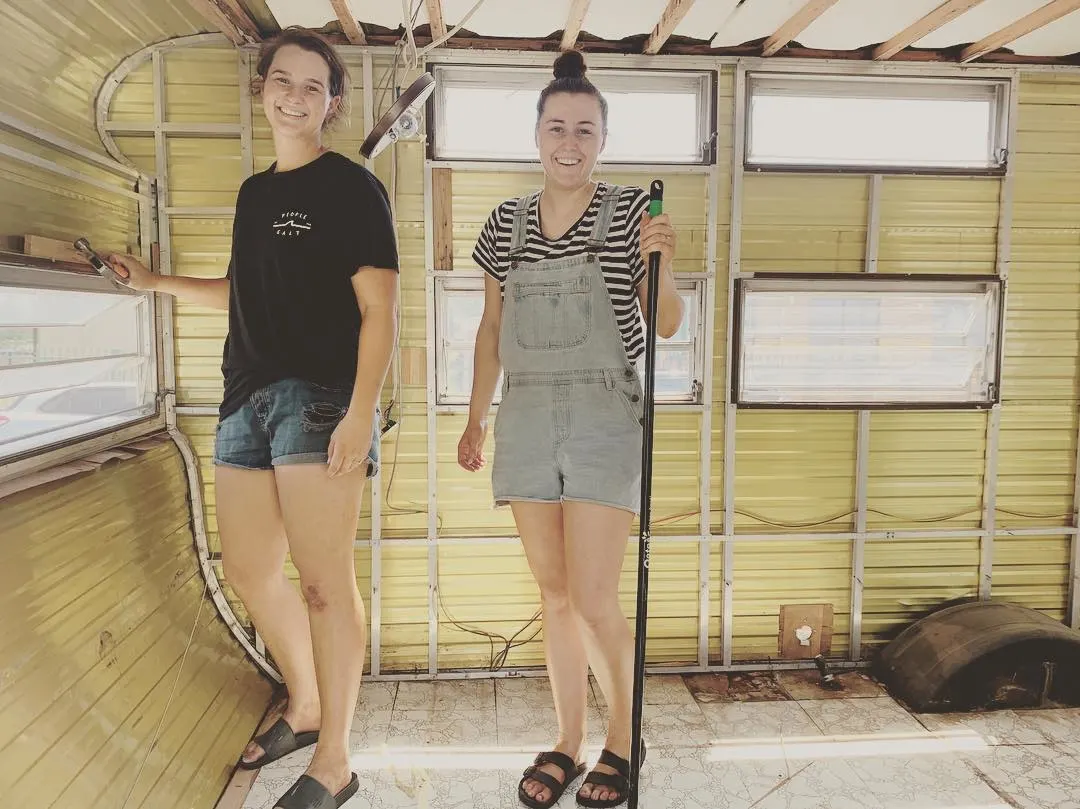
After months of hard work, and a steep learning curve; Georgia and Amy have created a beautiful holiday home on wheels.
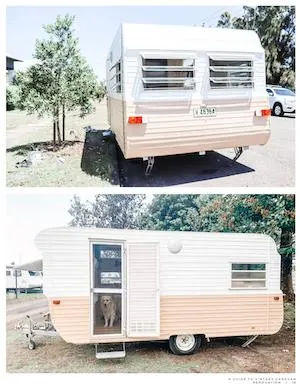
See the amazing ‘before’ and ‘after’ photos of Maggie below
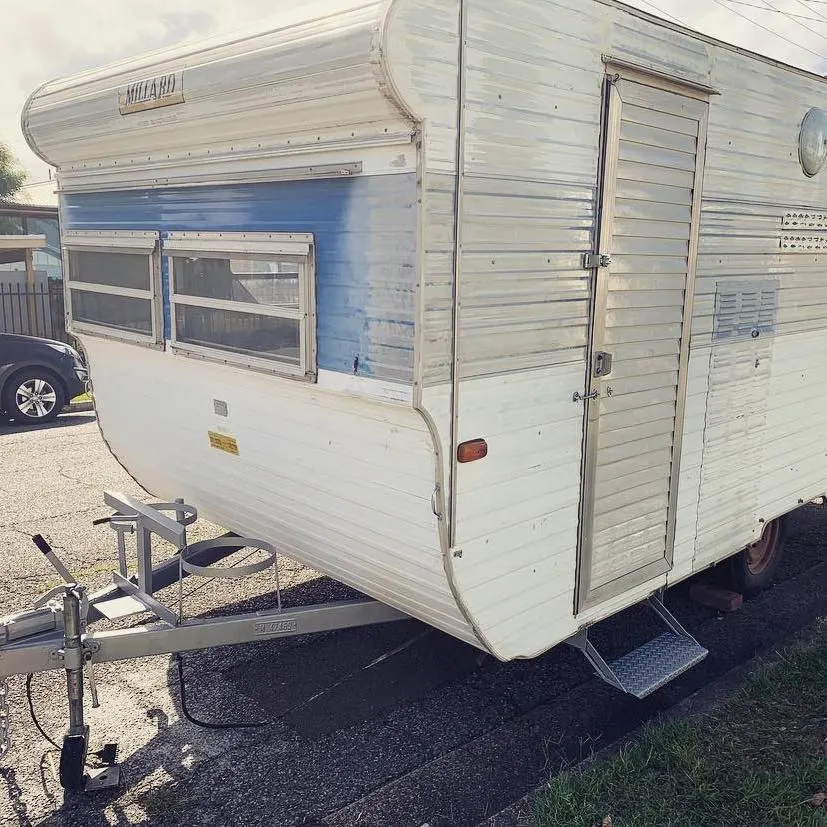
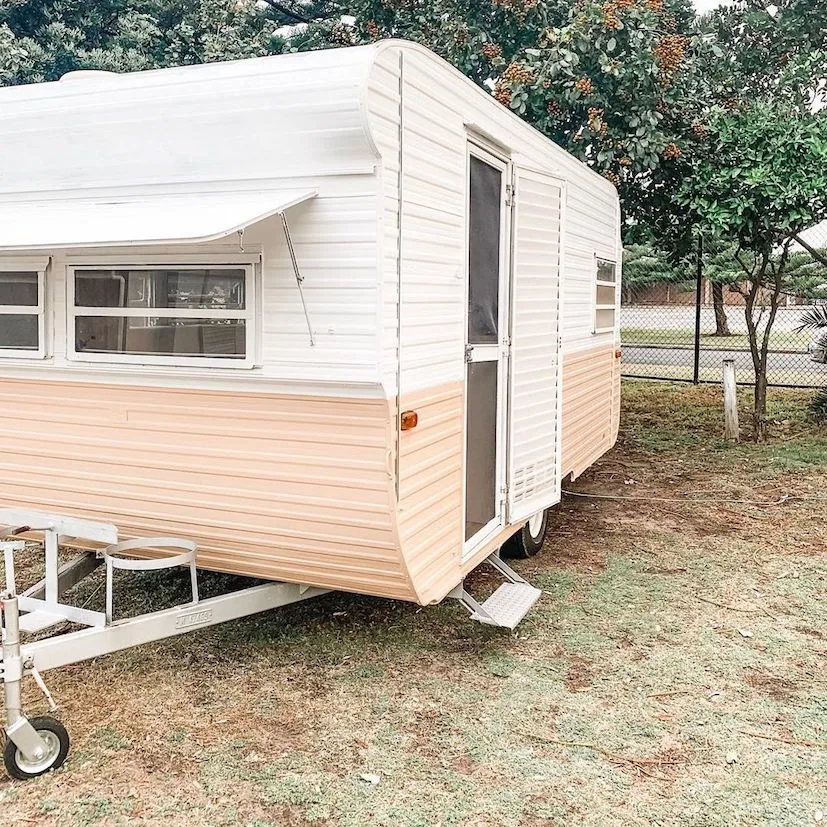
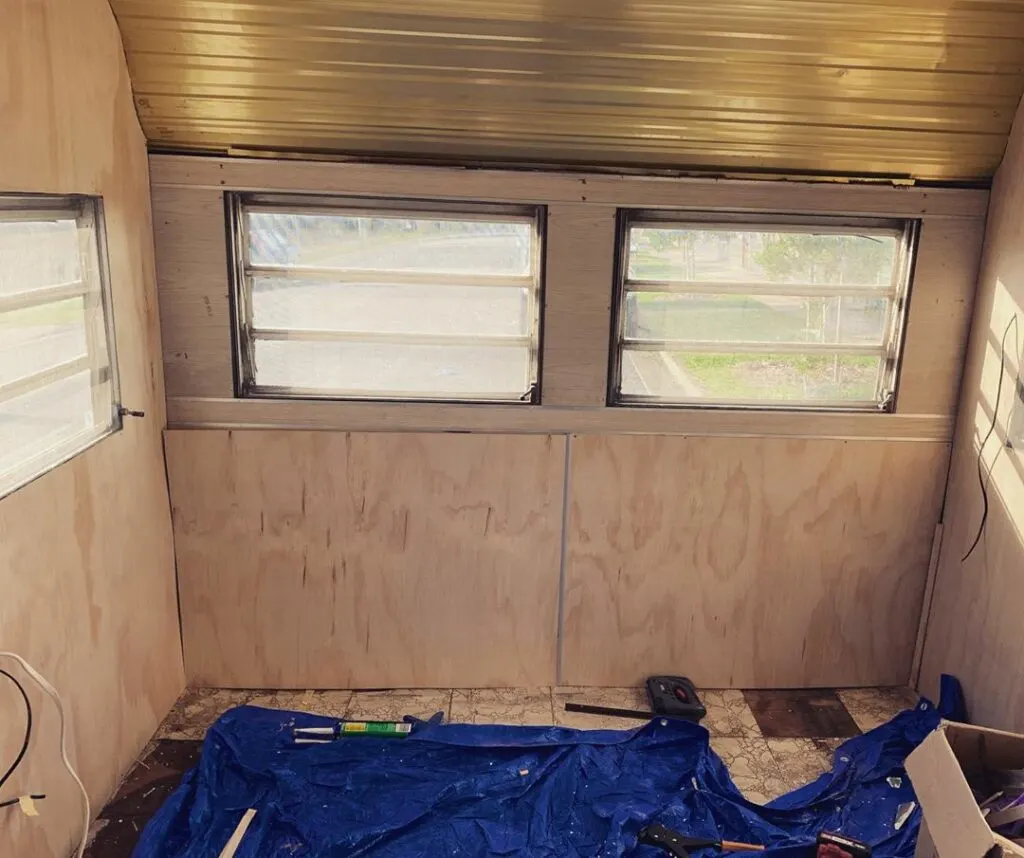
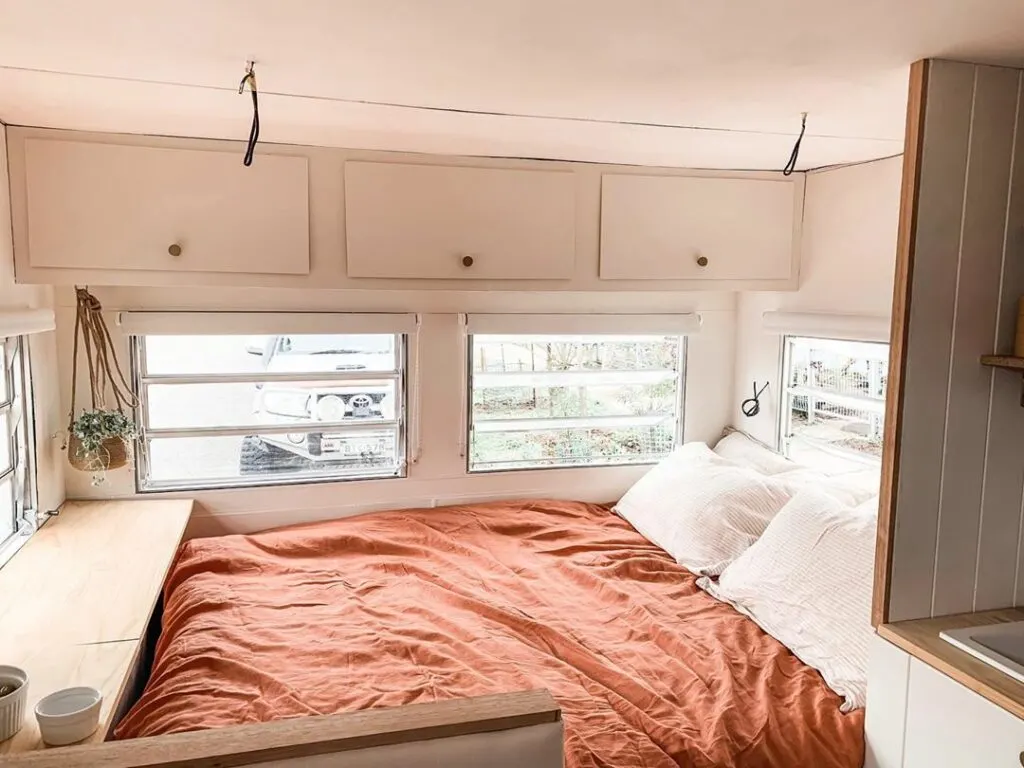
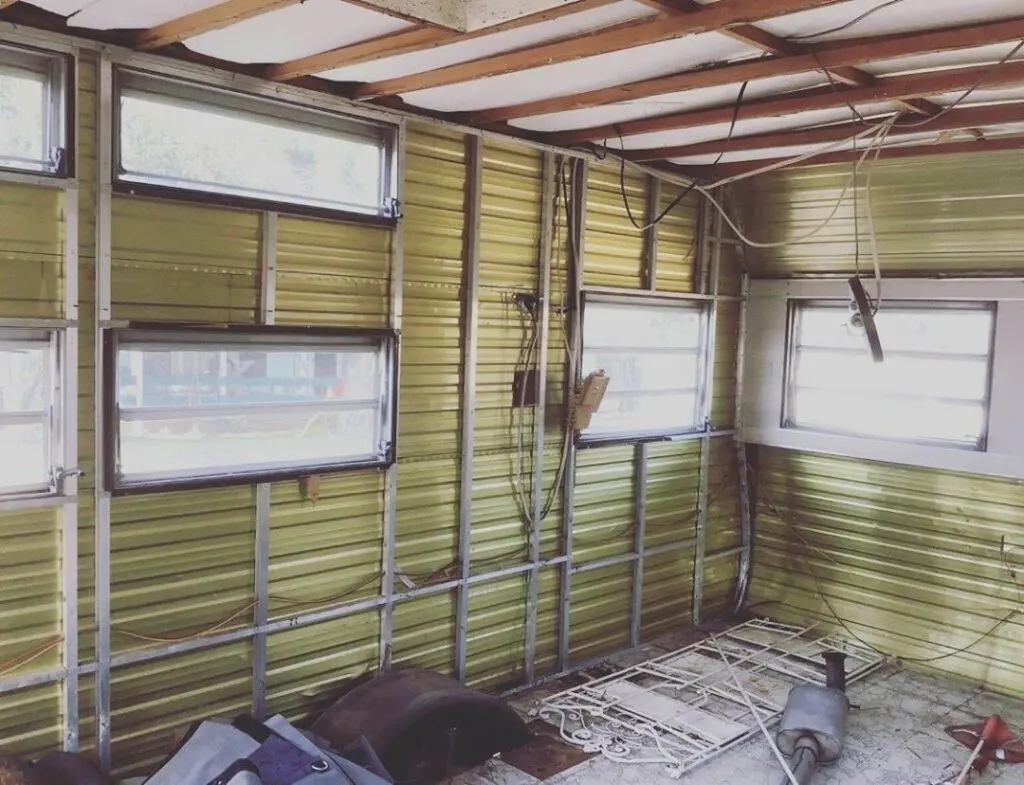
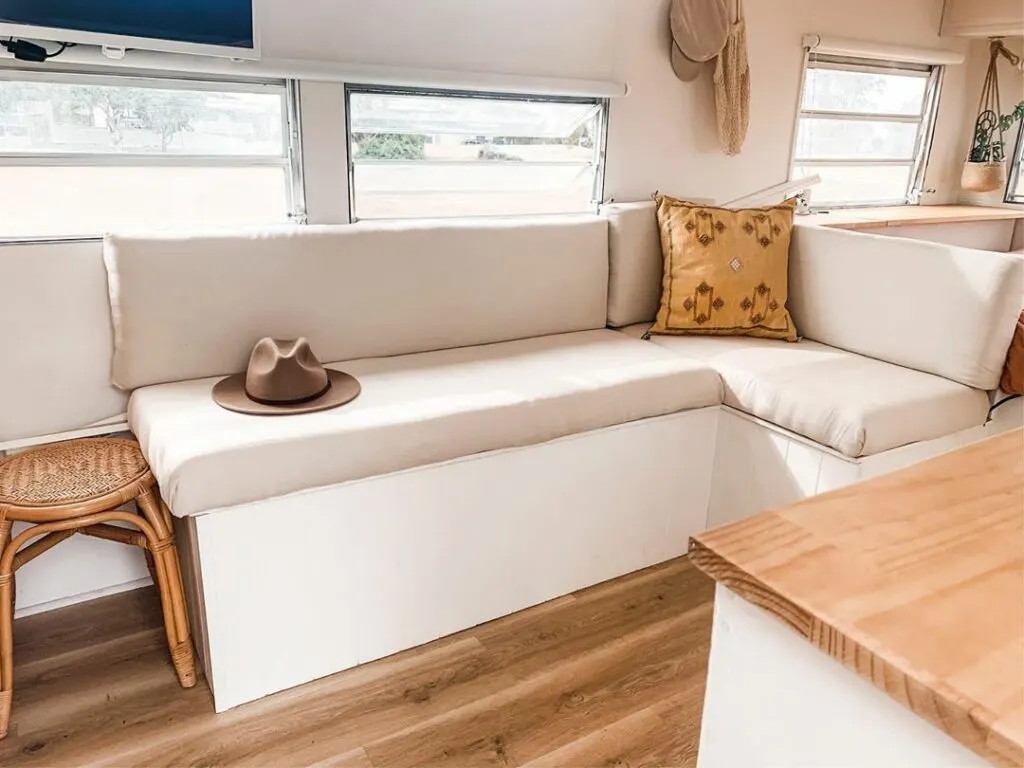
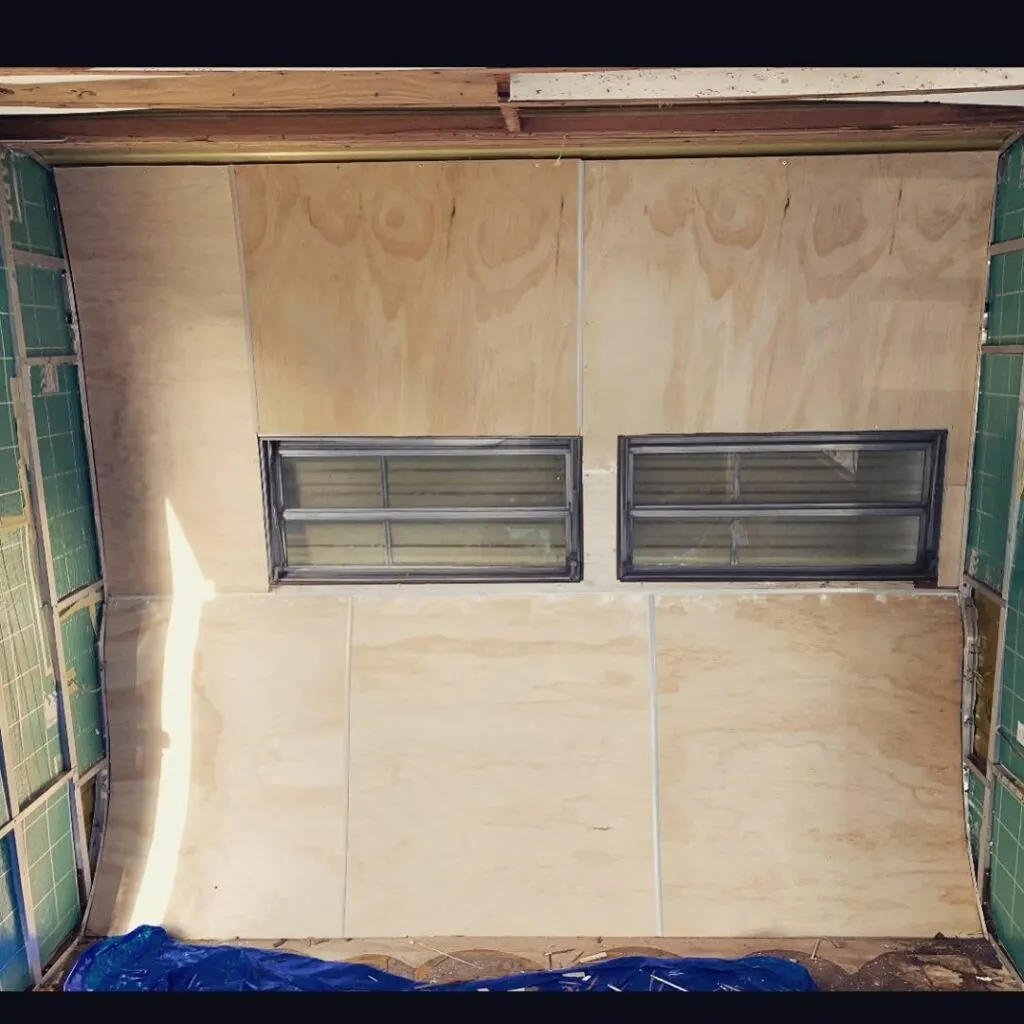
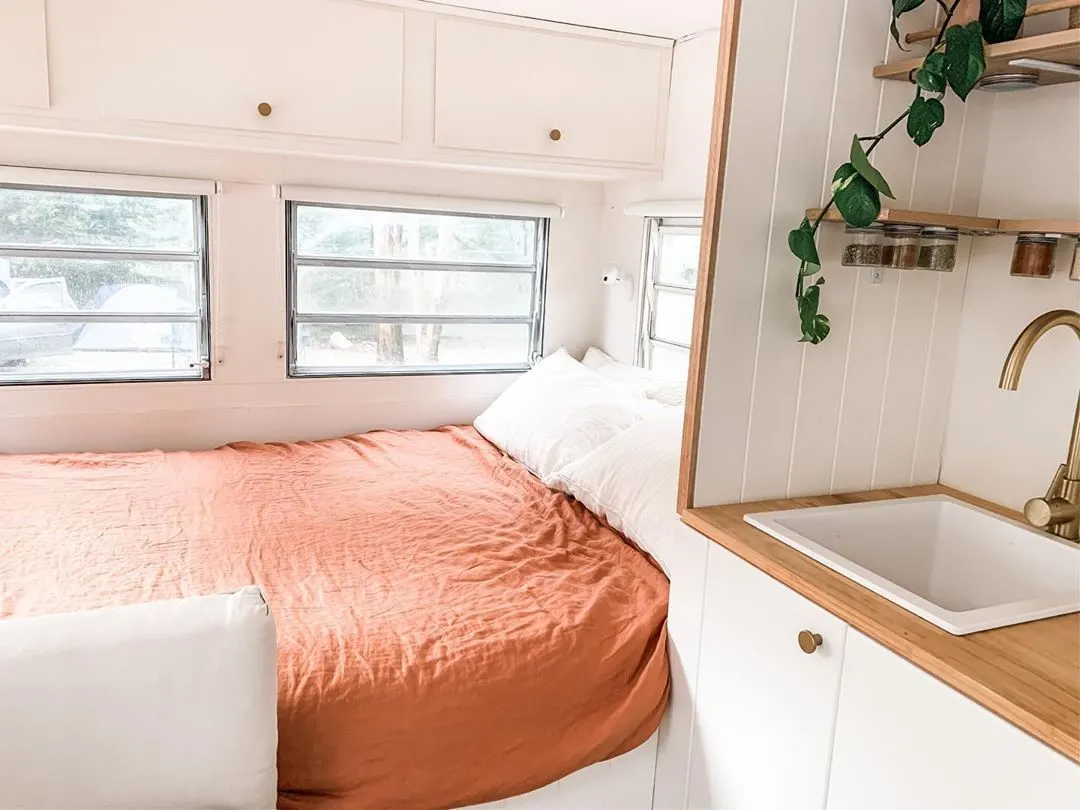
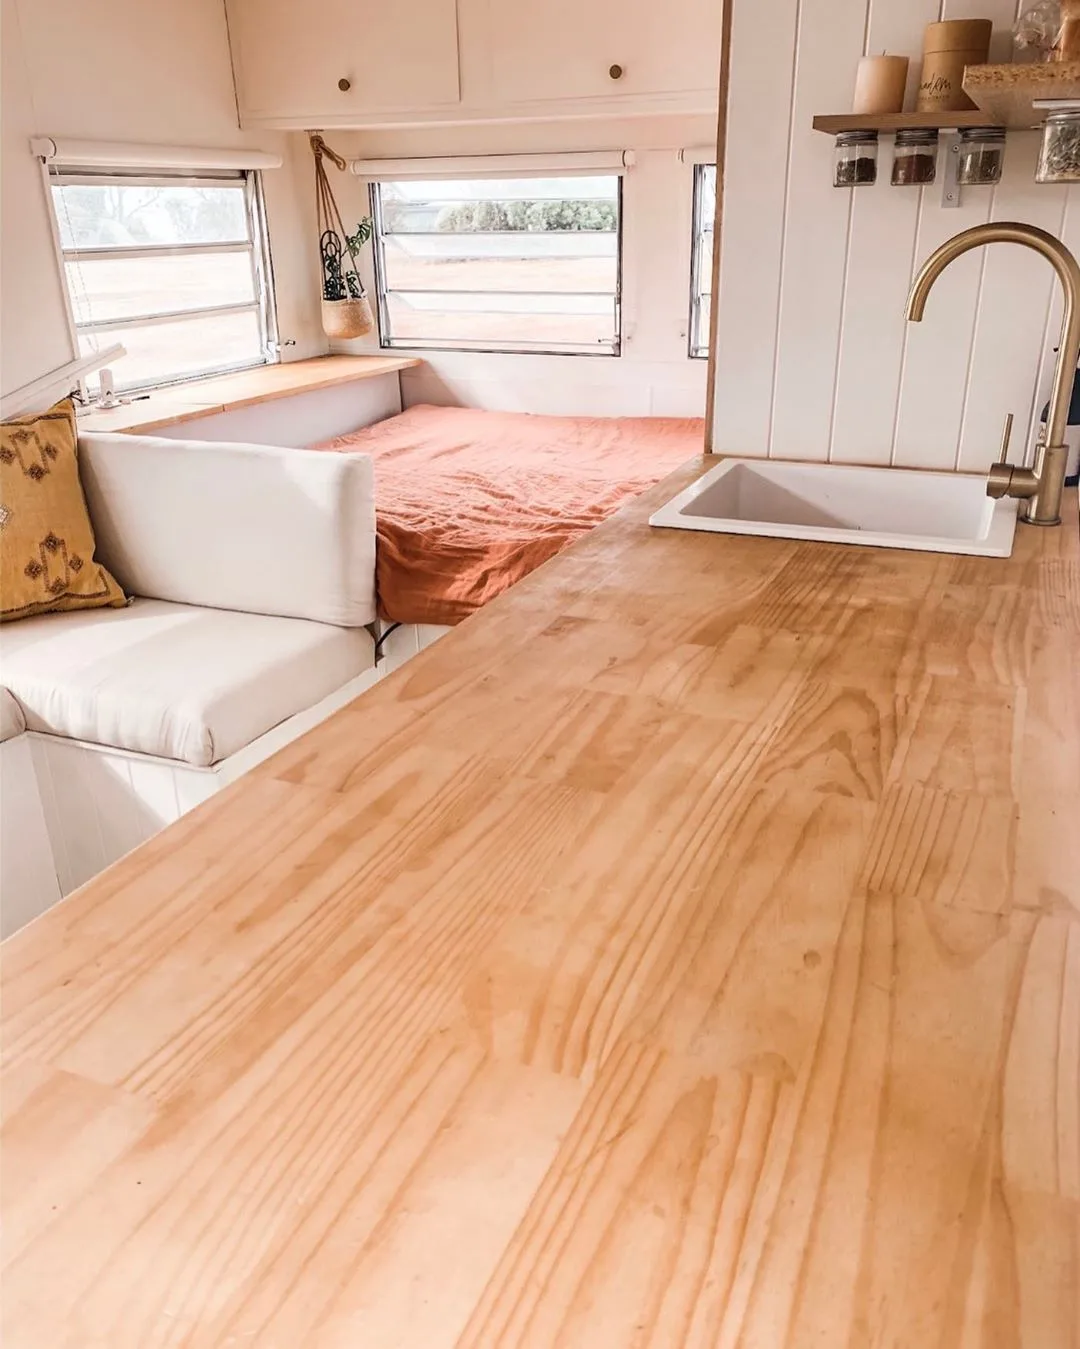
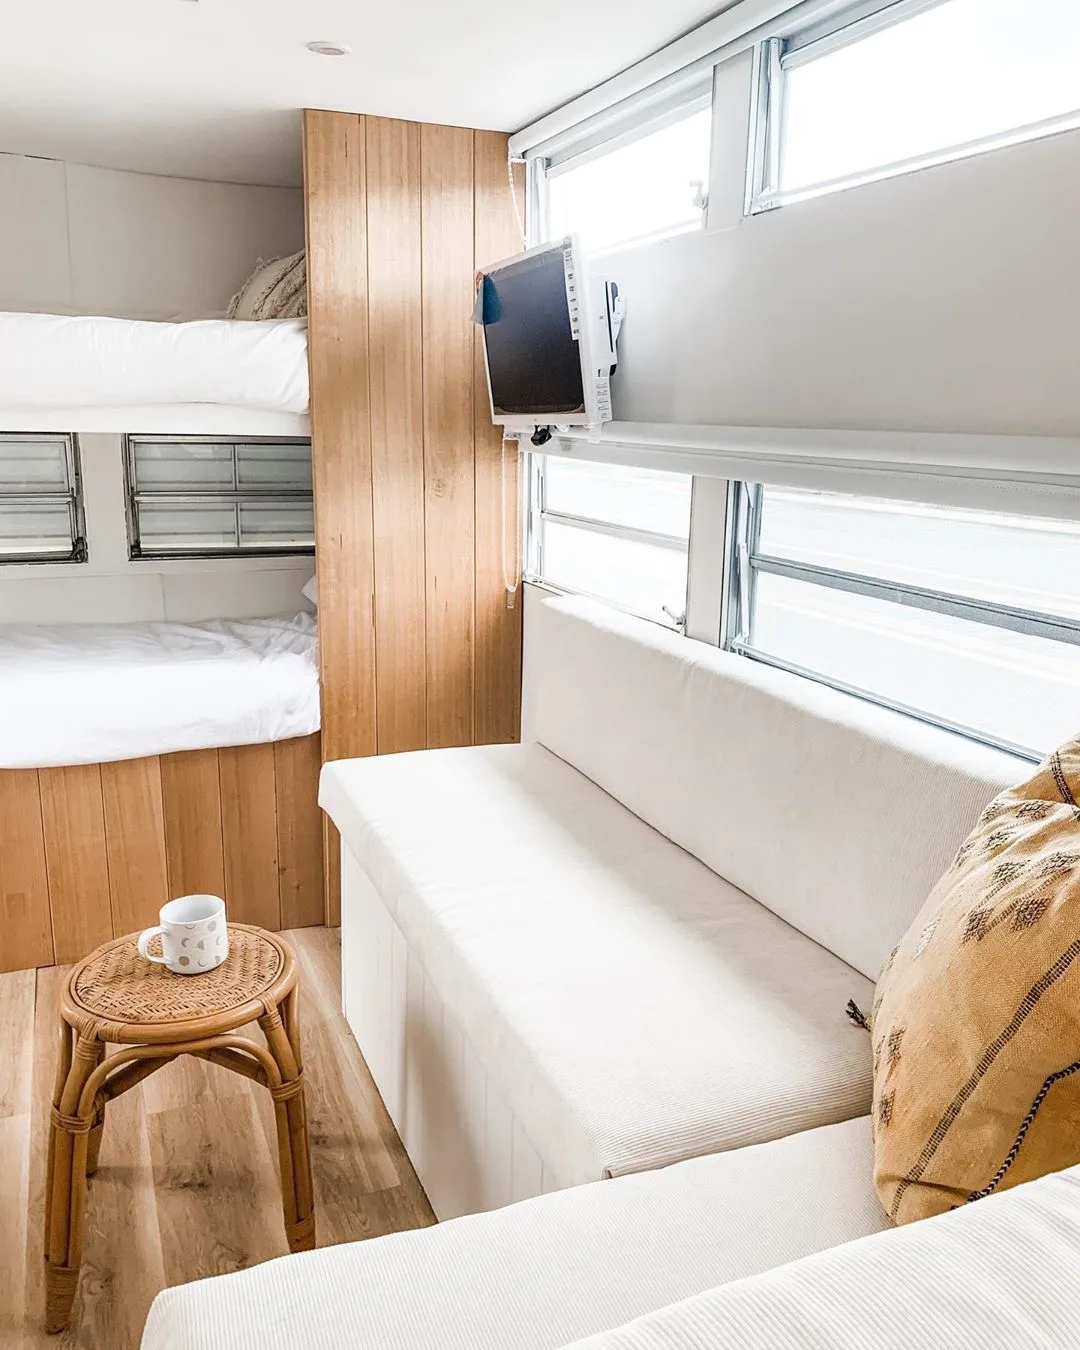
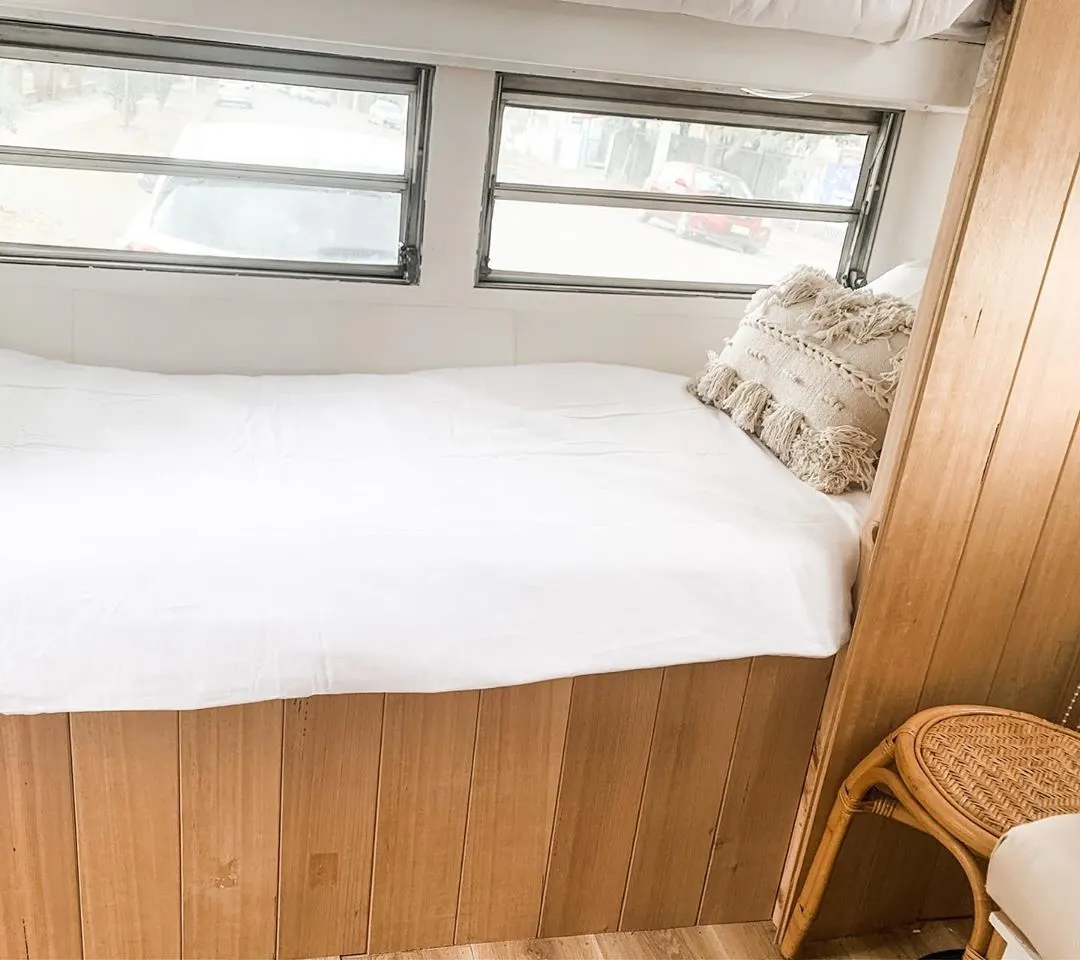
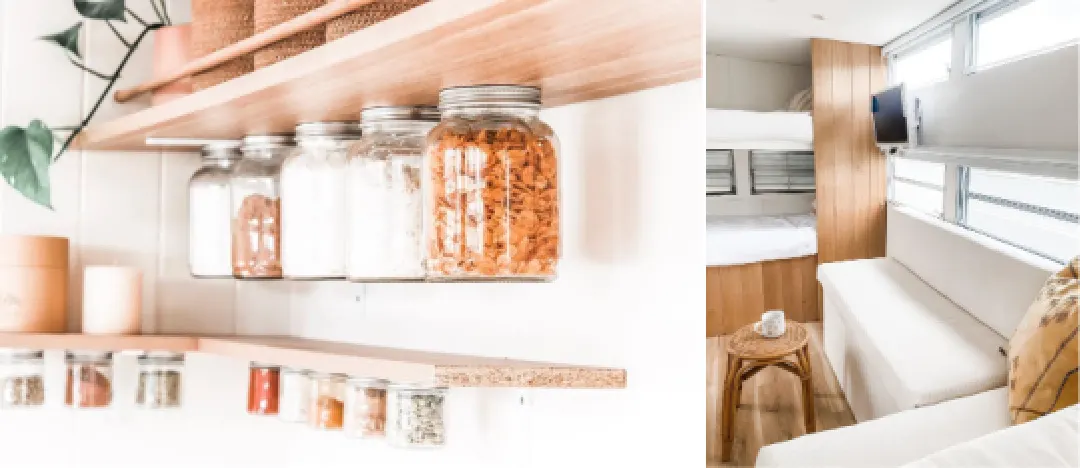
More photos of Maggie’s interior
Questions
We asked Amy & Georgia to answer some of our questions about their renovation and they’ve given us some great insight into the whole process.
How long did it take to renovate Maggie?
We purchased Maggie as a shell on the 26th January 2019 and completed the majority of the renovation by the time we drove across Australia from NSW to WA, beginning on the 21st December 2019.
We have been touching up all the small things since then and modifying anything we found could work better since the trip.
How much did the renovation cost?
We spent $900 on Maggie’s shell. She was completely gutted but still had registration, which was a massive bonus for us at the time.
We then went on to spend probably around $5/6,000 on the total renovation.
We did put some expensive items in, such as a full off-grid battery set up.
We have seen many different renovation cost figures thrown around over the past two years.
We feel that you can decide as you’re going, which things are worth spending top dollar on, and which things you can get by on the cheaper version.
Our figure is probably around average from what I have seen.
What was the most challenging part of the renovation?
Now that we have finished (99%, as will it never actually feel finished), it is hard to remember the difficult parts!
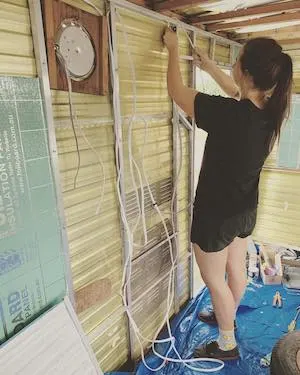
I remember we found cutting out the shapes from the new interior wall panels relatively difficult, as vintage vans seem to have all sort of lovely whacky shapes and curves.
We found the electric system the most time consuming and needed months of research (for us). Once we knew everything we needed to know though, it’s been a breeze. Luckily we had a great friend with great knowledge on this, he helped us more than we could say and we are so grateful for that.
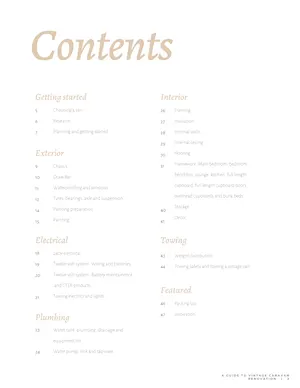
We have put all our knowledge into our reno guide and we hope it can help others. More on this below…
What do you think made the most difference (in terms of looks/decor)?
We worked really hard on making Maggie look unique. We know that having a modern looking vintage van isn’t for everyone, but with a gutted shell to work with, we weren’t left with much choice.
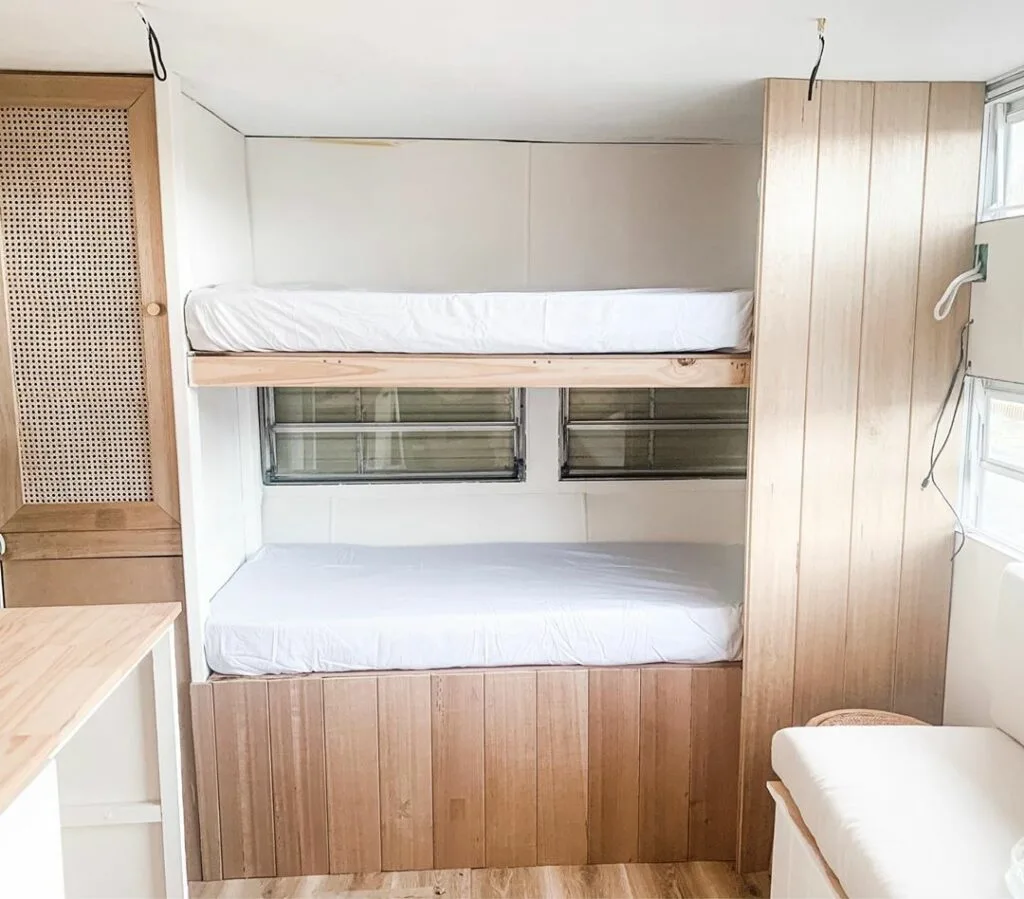
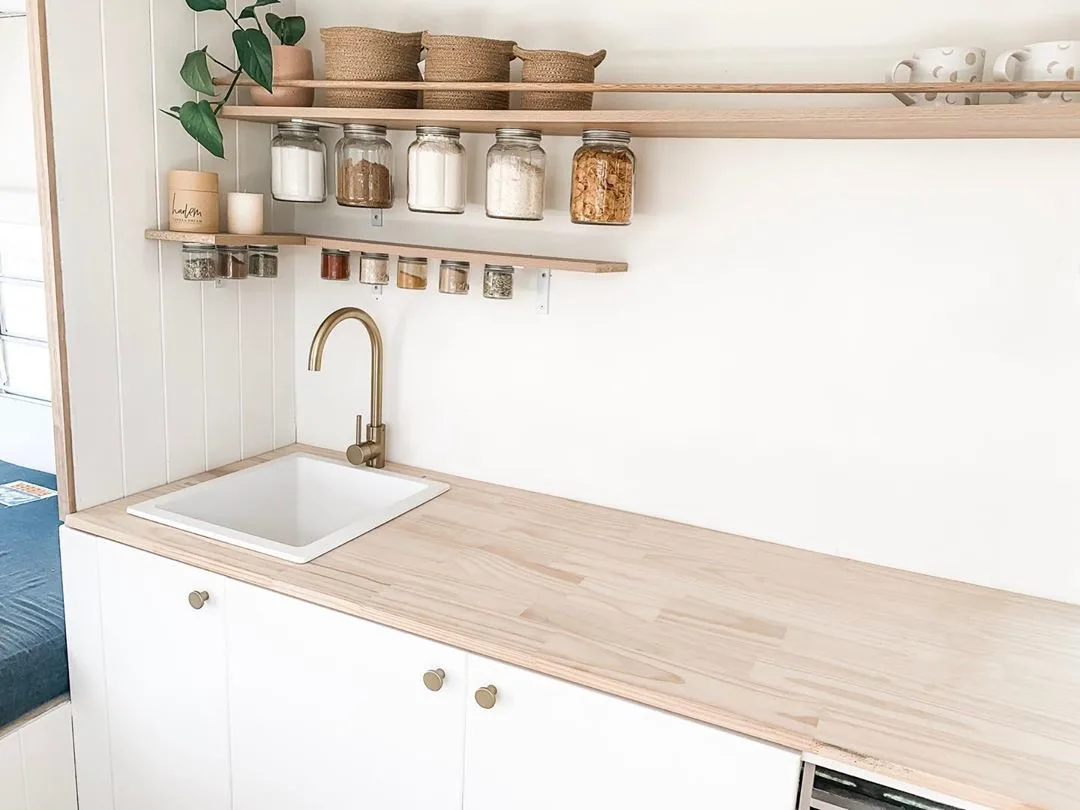
We kept the walls white, that way we can change our decor over the years. We used a few features such as the spice jars and the bunk bed divider wall. We think these make the biggest impact for Maggie.
Will you renovate more caravans?
We would love to, but not at the moment.
Maybe one day if we outgrow Maggie we will dip our toes back into renovating a bigger van.
We are currently working on a DIY little side project we hope we can share soon…
Vintage Caravan Renovation Guide
Georgia and Amy have documented the whole process that they went through when renovating Maggie.
They’ve taken all they’ve learnt, plus lessons from other caravan renovators, and created an awesome resource for other newbies that want to renovate a vintage caravan.
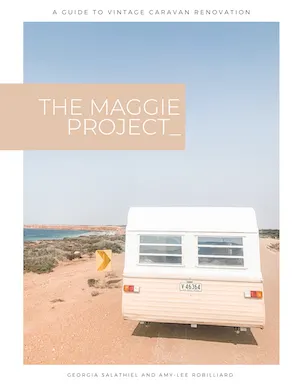
The Maggie Project – A Guide to Vintage Caravan Renovation is available to order NOW!
If you’re starting your own vintage caravan renovation, or wanting to, this guide will walk you through all the steps.
And before you know it, you’ll have your own beautiful ‘Maggie’ to enjoy!
Thanks Georgia and Amy for sharing your lovely Maggie with us! Buy their renovation guide here.
Save ‘How to renovate a vintage caravan’ to Pinterest
